
Introduction
Creating a portrait that captures the essence of your subject demands skill and attention to detail. Charcoal pencils are a versatile medium that allows artists to play with a wide range of tones, making them an excellent choice for portrait drawing. In this article, we’ll delve into the art of applying different shades of charcoal pencils to bring life to your portraits.
Materials You’ll Need
Before we begin, gather the following materials:
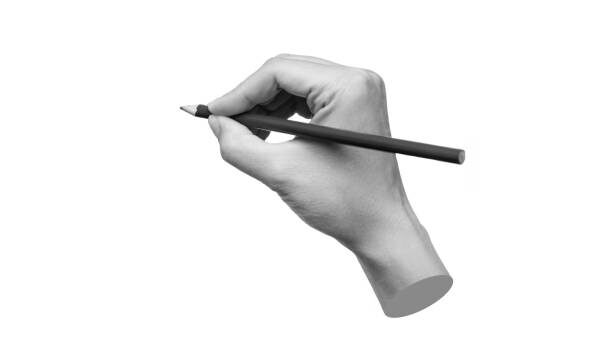
- Charcoal pencils: These come in various grades, from hard (light) to soft (dark). A range of pencils from H to B will be useful.
- Drawing paper: Opt for a heavy-weight, textured paper that can handle charcoal well.
- Kneaded eraser: This is essential for lifting charcoal and creating highlights.
- Blending tools: You can use blending stumps, tortillons, or even tissues to smudge and blend the charcoal.
- Fixative spray (optional): To prevent smudging after completing your drawing.
Now, let’s explore the step-by-step process of using charcoal pencils for a portrait drawing:
Step 1: Start with the Right Pencil
Begin by selecting the appropriate charcoal pencil. For initial sketches and lighter areas of the portrait, choose harder pencils (e.g., 2H or 4H). For shadows and darker areas, opt for softer pencils (e.g., 2B or 4B). Using the right pencil for each area is key to achieving a balanced range of tones.
Step 2: Outline and Basic Shapes
Lightly sketch the basic shapes and outlines of your subject using a hard charcoal pencil. Keep your lines faint; you’ll refine them as you progress. This initial framework serves as a guide for the rest of your drawing.
Step 3: Gradually Build Layers
Start adding layers of shading to your portrait. Begin with the lighter areas, using light pressure with your hard pencil. Gradually transition to softer pencils for darker tones. Be patient and build up the layers slowly to avoid over-darkening areas too quickly.
Step 4: Pay Attention to Details
As you work on different facial features, focus on the subtle variations in tone. Observe your reference closely to replicate the play of light and shadow accurately. Pay particular attention to highlights on the forehead, nose, cheekbones, and chin – these areas should remain lighter.
Step 5: Blend Smoothly
To create seamless transitions between shades, use blending tools like blending stumps or tortillons. Gently smudge and blend the charcoal to eliminate harsh lines and create a more realistic effect. Blending adds depth and dimension to your portrait.
Step 6: Lifting with a Kneaded Eraser
To create highlights or correct mistakes, gently dab or knead your eraser and lift charcoal from the paper. This technique is particularly useful for creating fine details and bringing out highlights in the eyes and hair.
Step 7: Experiment with Textures
Charcoal is versatile; experiment with different techniques like cross-hatching or stippling to create various textures in your portrait, such as hair, clothing, or background elements.
Step 8: Final Touches and Fixative (Optional)
Once you’re satisfied with your portrait, make any final adjustments. If desired, use a fixative spray to set your charcoal and prevent smudging. Ensure your drawing is thoroughly dry before applying the fixative.
Conclusion
Creating a stunning portrait with charcoal pencils is a rewarding endeavor that requires practice and patience. By mastering the use of different shades of charcoal pencils and paying attention to detail, you can bring your subjects to life on paper. Remember that every artist develops their unique style, so don’t be afraid to experiment and let your creativity shine through in your portrait drawings. Happy drawing!